
The simplest way to avoid missing a return deadline is to record the final eligible date as soon as possible, keep the receipt with the purchase and set a reminder several days before the deadline.
Key takeaways
- Verify the exact policy and the date from which the return window starts.
- Record the final eligible return day with the receipt as soon as possible.
- Set an early reminder and keep the return confirmation until any refund is complete.
In this guide
Why return deadlines are easy to miss
A return window often starts while you are still deciding whether an item works. The deadline may be buried in an email, shown only in an account page or calculated from a date you did not expect. Meanwhile, the receipt, packaging and order number can end up in different places. By the time you decide to return the product, finding the policy and working out the last eligible day becomes another task.
The practical fix is to treat the deadline as part of the purchase record. Capture it while the order details are close at hand, then give yourself time to act before the final day.
Confirm the retailer’s actual return policy
Start with the policy that applies to the exact purchase. Check the retailer’s current order page, receipt or published terms. A general headline such as “30-day returns” may have exceptions for clearance items, electronics, opened products, marketplace sellers or purchases made during a seasonal promotion. Online and in-store purchases may also follow different processes.
Record any conditions that could affect eligibility: whether the item must be unopened, whether original packaging is required, where it can be returned and whether the deadline means the return must be started, shipped or physically received. If the wording is unclear, ask the retailer and save the answer.
Determine when the return period starts
The policy’s start date matters as much as its length. A return period might begin on the purchase date, shipment date, delivery date or pickup date. Counting from the wrong event can move your deadline by several days. Also check whether the retailer counts calendar days or business days and how it treats the first day.
Record the final date immediately
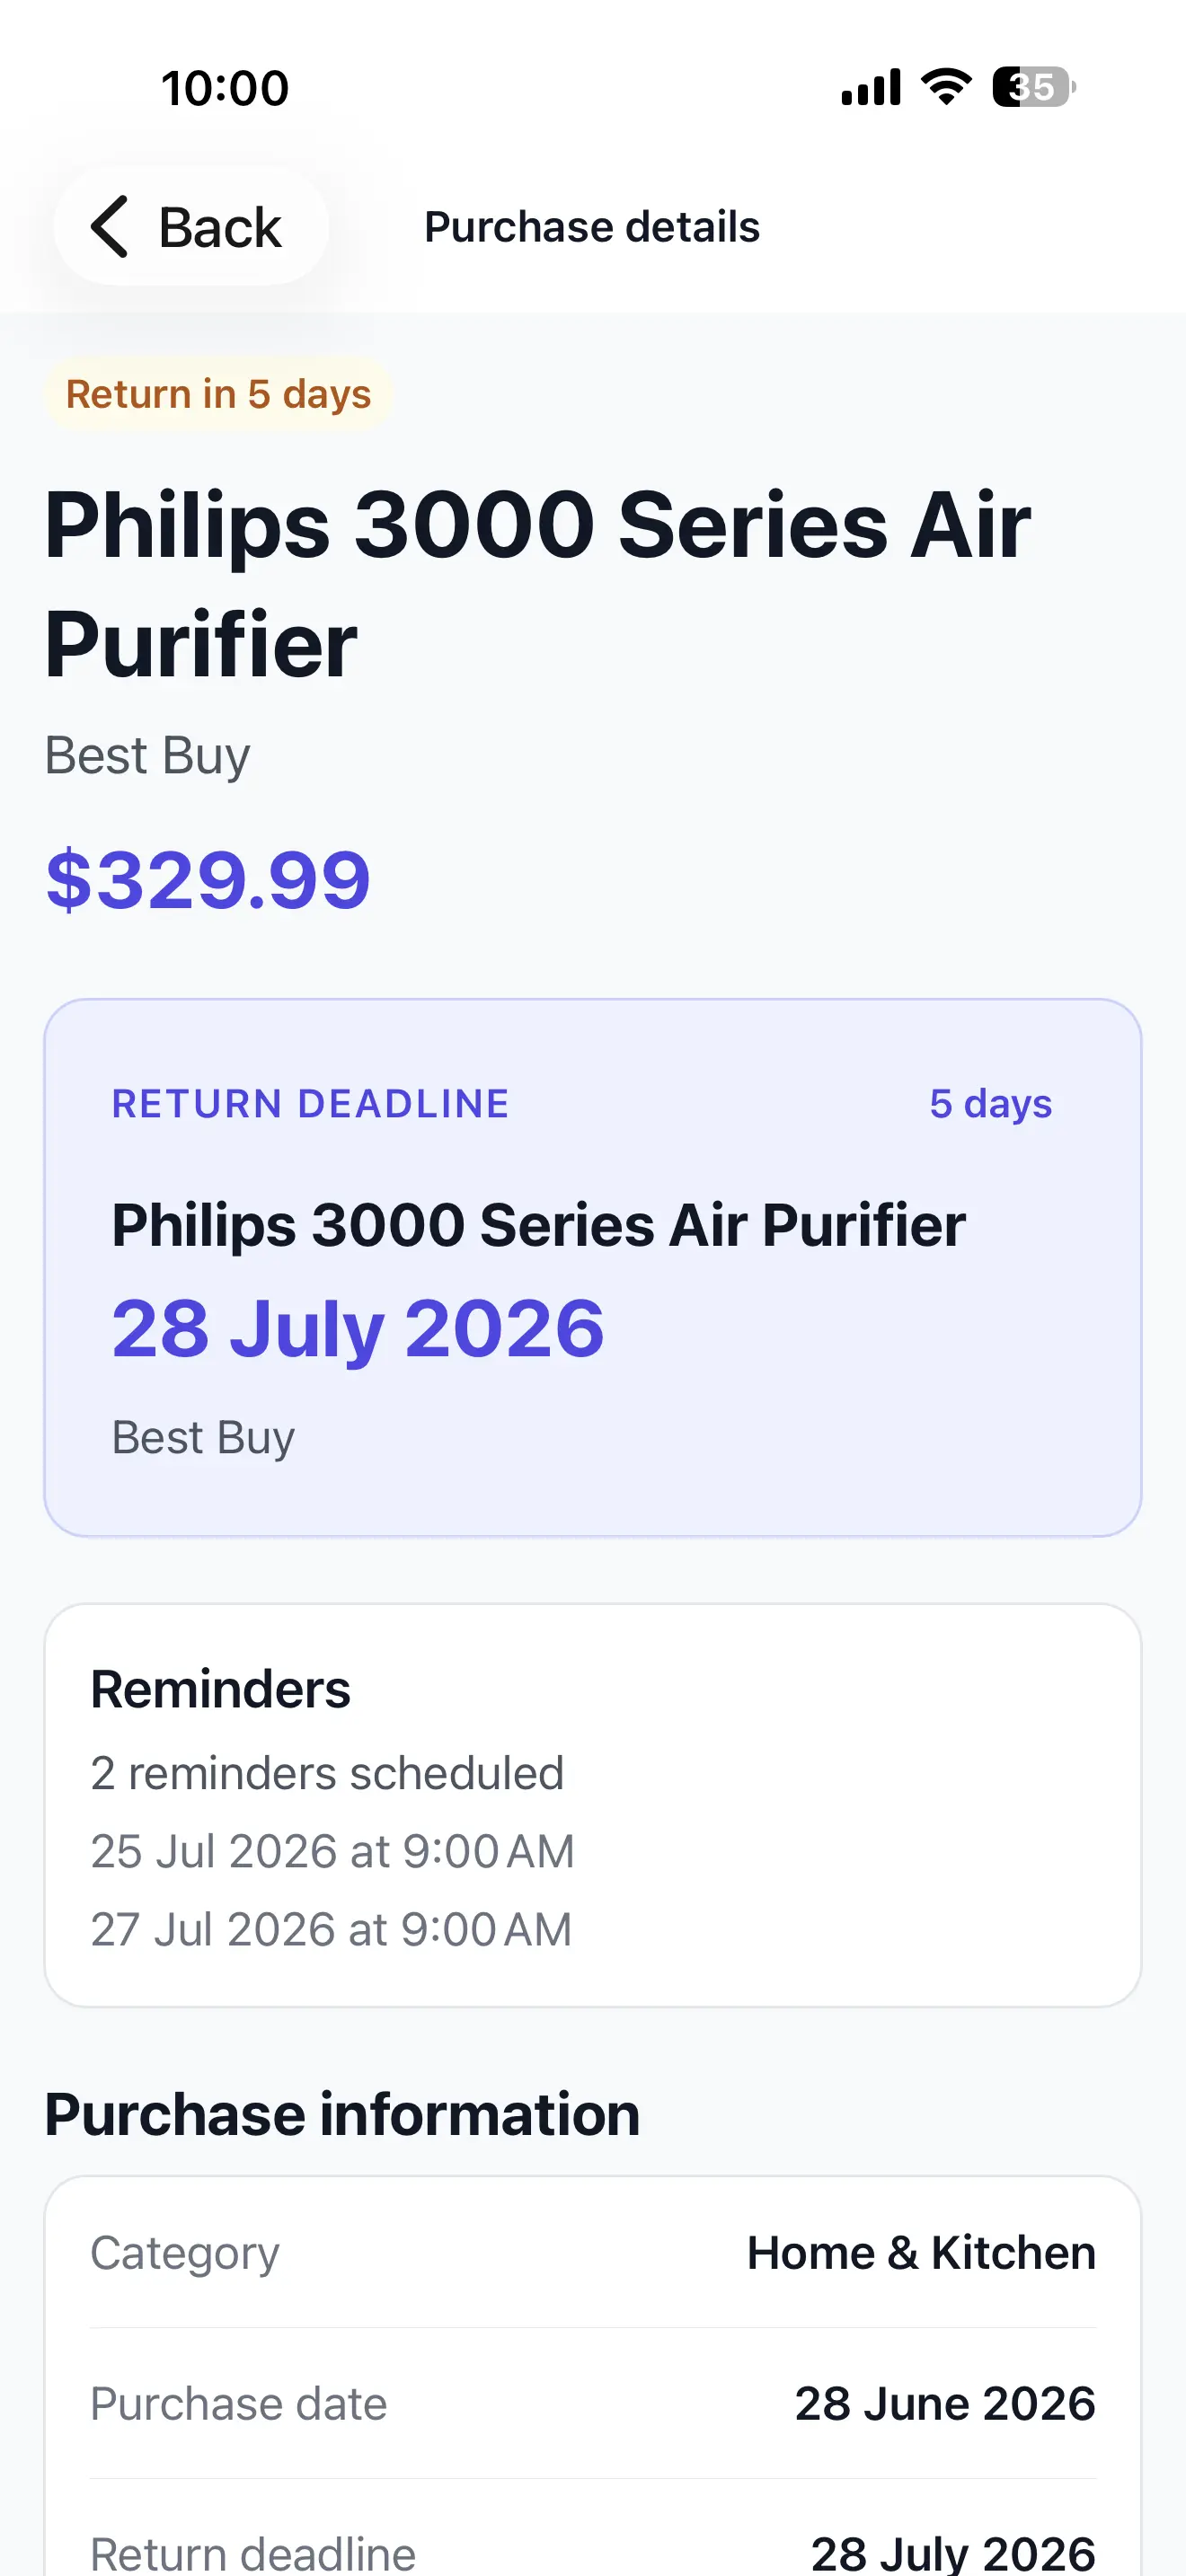
Once you have confirmed the rule and start date, calculate the last eligible date and save it with the product name, retailer, purchase date and receipt. Writing “30 days” is less useful than recording “August 7,” because a specific date can drive a reminder and can be checked at a glance.
If the retailer displays a return-by date in the order details, use that date and keep a screenshot or note of where it came from. If you calculated the date yourself, add a short note such as “30 calendar days from delivery on July 8.” That context makes the date easier to verify later.
Set useful reminders before the final day
A reminder on the deadline itself leaves no margin for packaging, travel, printing a label or contacting support. Choose reminders that match the effort involved. Seven days before can prompt the decision, three days before can prompt preparation and one day before can serve as a final check. You do not need every reminder for every purchase; select the ones that will lead to action.
Keep proof of purchase and return documents
Save a readable receipt or invoice with the purchase record, along with the order number and the email address used for the order. Keep packaging, tags, serial numbers and included accessories when the policy requires them. For a shipped return, retain the label, tracking number and carrier receipt. For an in-store return, keep the return receipt.
These records help if the retailer cannot locate the order, questions the return date or asks for proof that the package entered the carrier network on time.
Decide whether to return the product early
If you already know the item is unsuitable, returning it early usually reduces risk. Waiting can make packaging harder to find, allow the item’s condition to change or leave too little time to resolve a missing label. Consider the shipping time, your schedule and whether you need customer support before deciding how much buffer to keep.
For uncertain purchases, choose a personal decision date several days before the retailer’s deadline. Use that date to make the keep-or-return decision, not to begin reconsidering it.
Record when the item was returned
After handing over or shipping the item, record the return date and method. Add the confirmation number and tracking details, then save any email or receipt that confirms acceptance. The return deadline has now become a completed milestone, but the purchase may still need attention.
If a refund is expected, record the amount and the retailer’s estimated refund date. Set a separate follow-up reminder so the original return task does not disappear before the money arrives.
Common mistakes
- Assuming every item from the same retailer has the same return window.
- Counting from purchase when the policy counts from delivery—or the reverse.
- Saving the window length without calculating the final eligible date.
- Setting only a same-day reminder and leaving no time to prepare.
- Discarding packaging, tags or receipts before deciding to keep the item.
- Treating shipment as the end of the process instead of tracking the refund.
Practical checklist
- Confirm the return policy
- Confirm the policy start date
- Record the last eligible date
- Save the receipt
- Set an early reminder
- Keep packaging when required
- Save return confirmation
- Track the refund afterward
How ReturnPing helps
ReturnPing keeps the purchase, receipt, confirmed return date and chosen reminders in one place. When you return the item, you can update its status, add expected refund information and keep the warranty record available if it is still relevant. It is a practical record of the dates you provide—not a replacement for checking the retailer’s policy.
See how ReturnPing stores important purchase dates and reminders.